


Welcome to the PanoX V2 tutorial, where we'll guide you through the process of capturing breathtaking 360° photos. Follow these simple steps to make the most of your PanoX V2 and create immersive panoramic images.
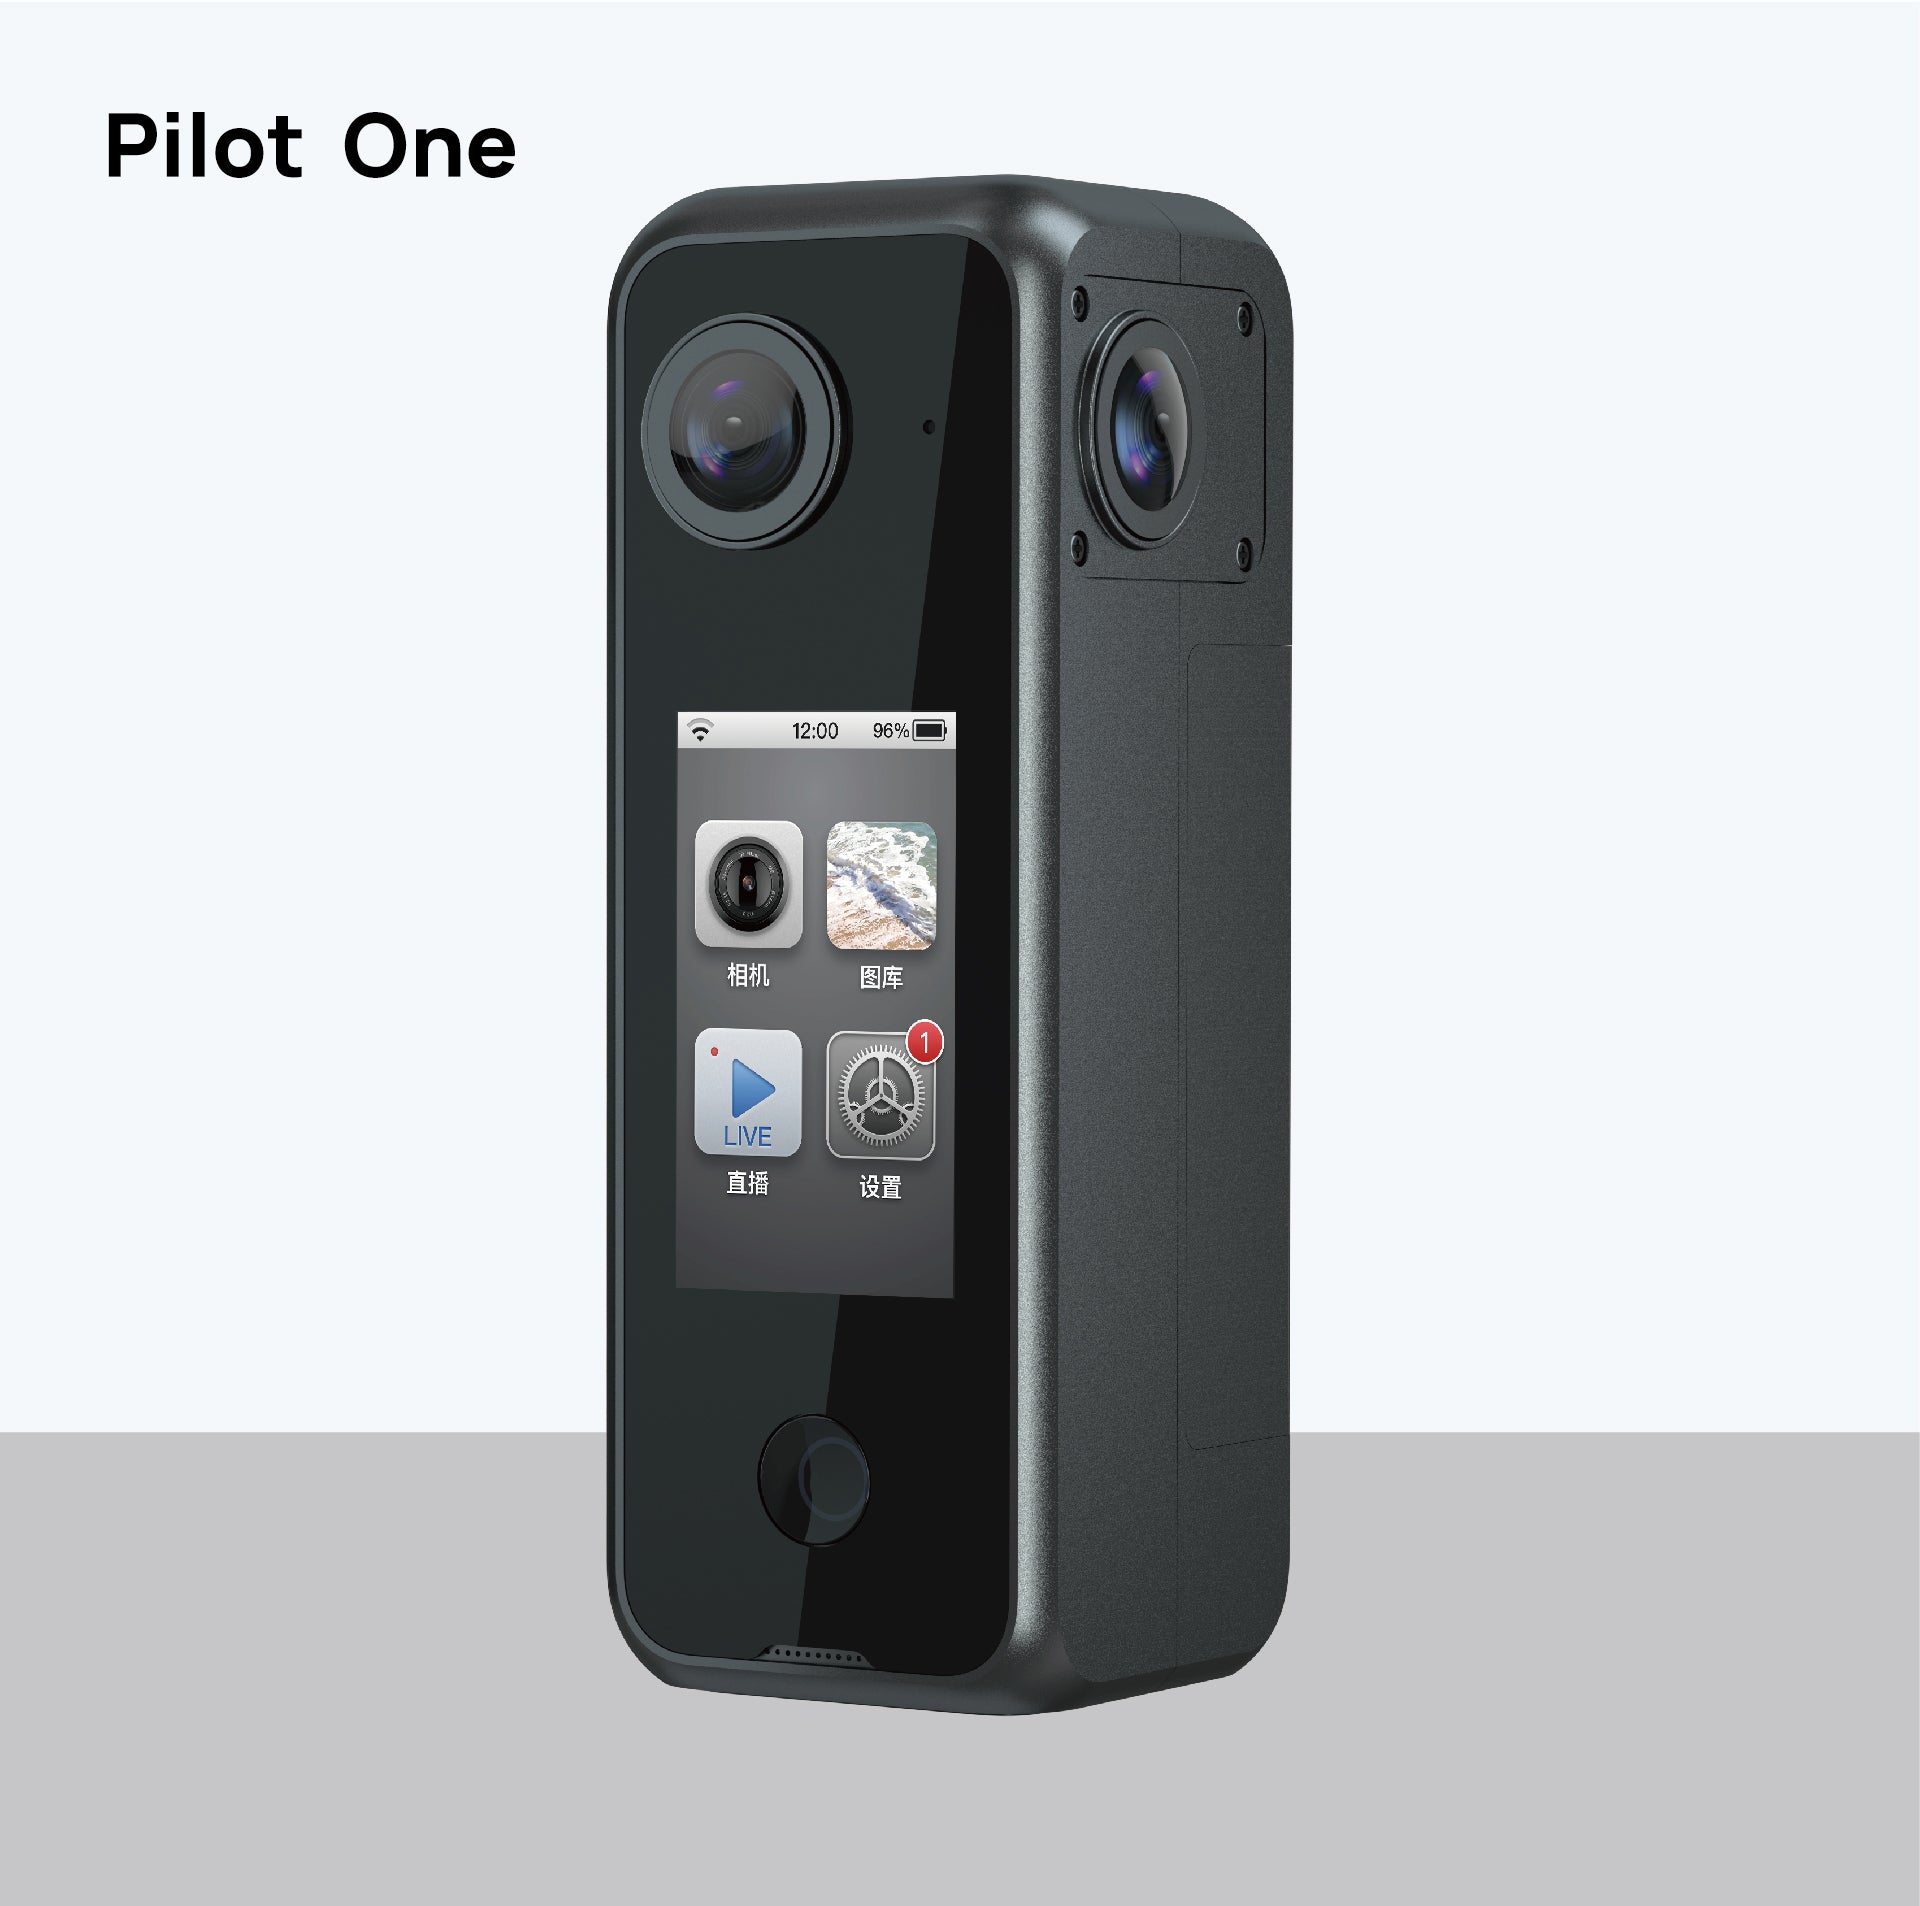
- Switching to 360° Photo Mode
Begin by turning on your PanoX V2 and navigating to the mode selection menu. Locate and select the "360° Photo" mode.
- Choosing Resolution
Once in 360° Photo mode, you have the option to choose the resolution for your photos. PanoX V2 offers three resolution settings: 5.7K, 12K, or 12K HDR. Select the resolution that suits your preferences and the level of detail you desire in your panoramic images.
- Adjusting Settings
Click on the arrow icon to reveal a menu with adjustable settings such as shutter speed, exposure compensation, and white balance. Take your time to fine-tune these parameters according to your shooting environment and creative vision.
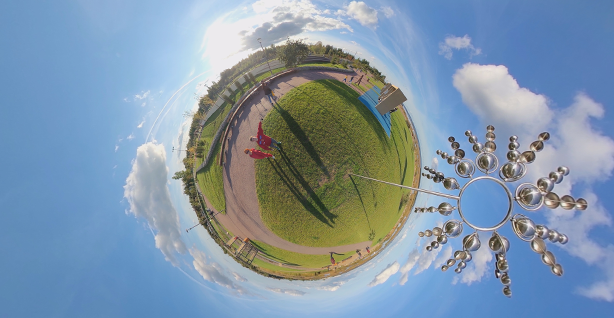
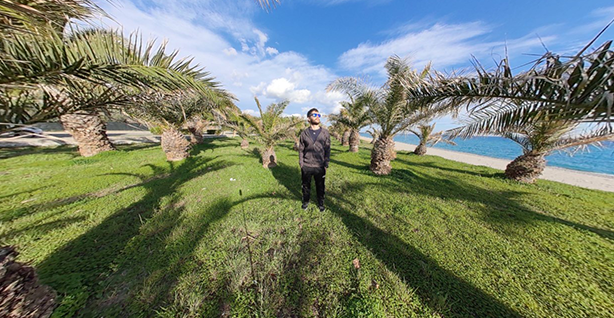
Once you've adjusted the parameters to your satisfaction, you are ready to start capturing stunning 360° photos. Simply press the shutter button, and the PanoX V2 will seamlessly capture the panoramic scene.
Leave a comment
This site is protected by reCAPTCHA and the Google Privacy Policy and Terms of Service apply.